Under Maintenance
Game Studio 1 Project
Walkthrough Video
Coming SoonProject Premise
Under Maintenance is a Virtual Reality maintenance simulator developed by Cogswell College in Unreal Engine 4 for Stanford Children’s Hospital, officially sponsored by Oculus. The goal of the project is to help increase retention of training for safety procedures that engineers must perform before and after performing maintenance on machines in the hospital. I worked on it during the Fall semester of 2018 and my personal involvement mostly revolved around blocking out the world space, designing the minigames that took place in between the safety procedures, and working with the different departments to help foster the overall vision of the game.
Project White Paper
To learn more about the project, read the white paper here (Coming Soon).
Whiteboxing
For the initial blocking out of space, I was given this diagram for reference and based the dimensions off a testing map that had previously been created:
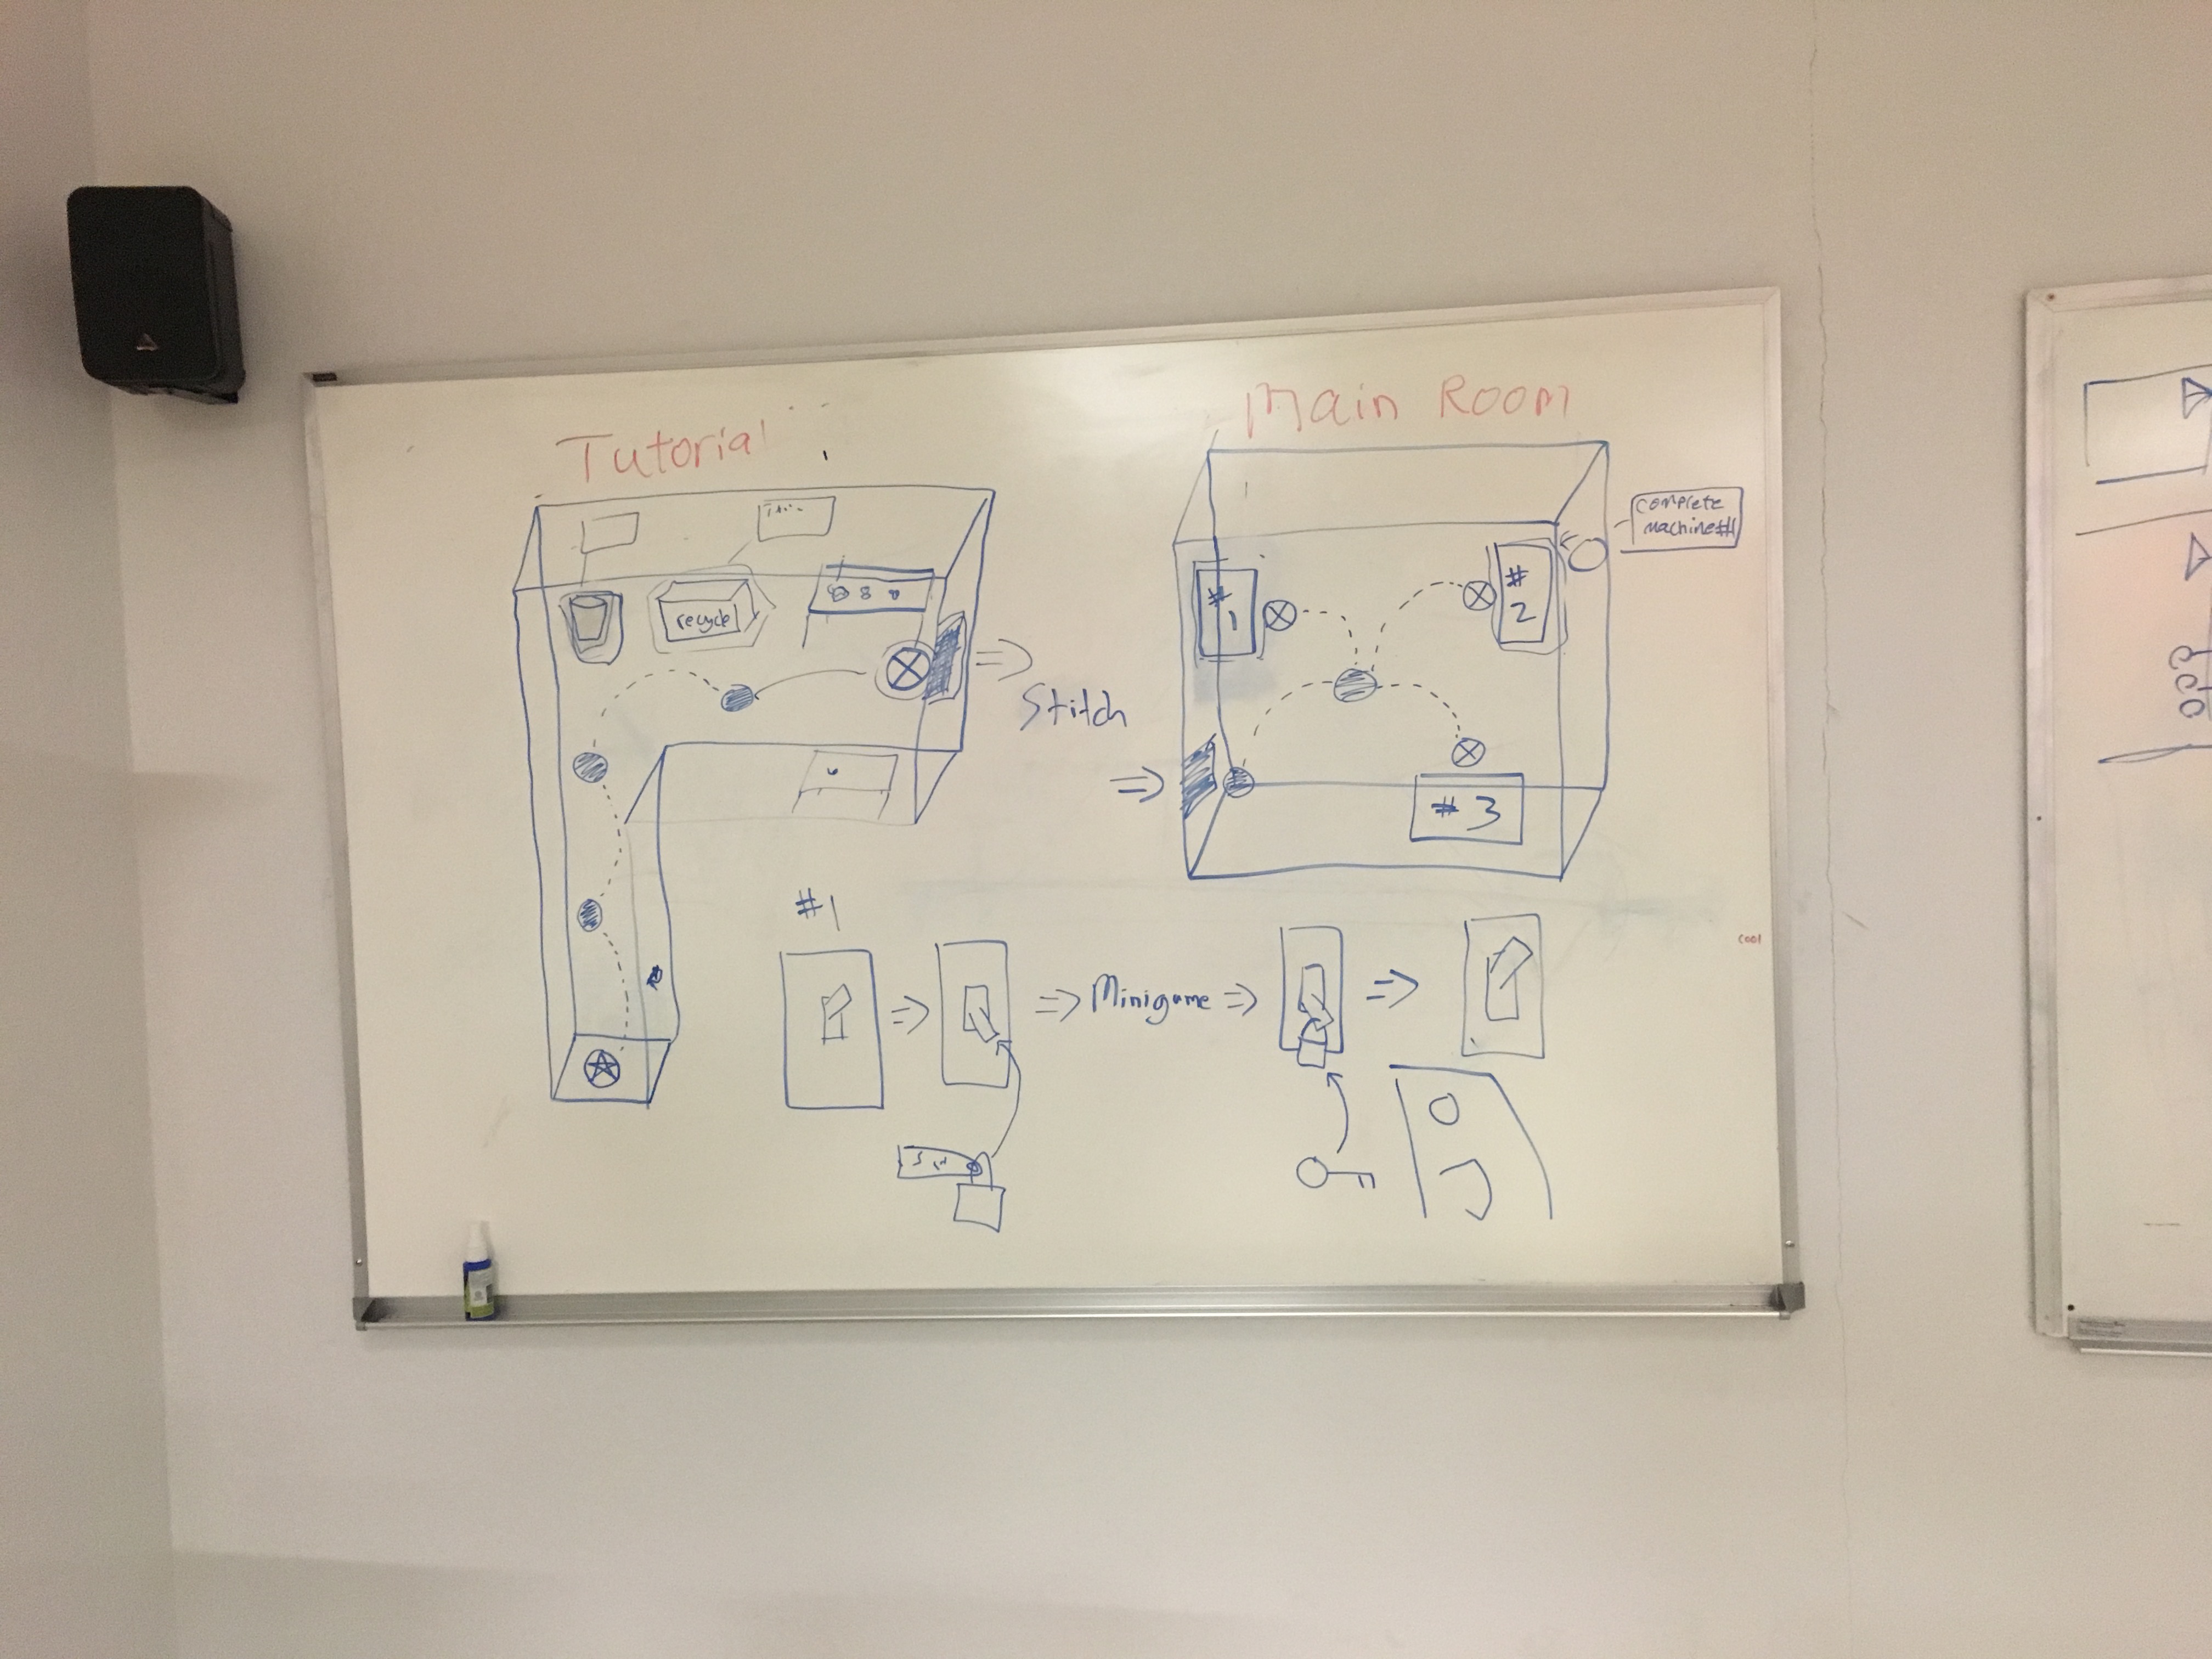
From this, I blocked out two simple rooms.
First Whitebox
Tutorial Room: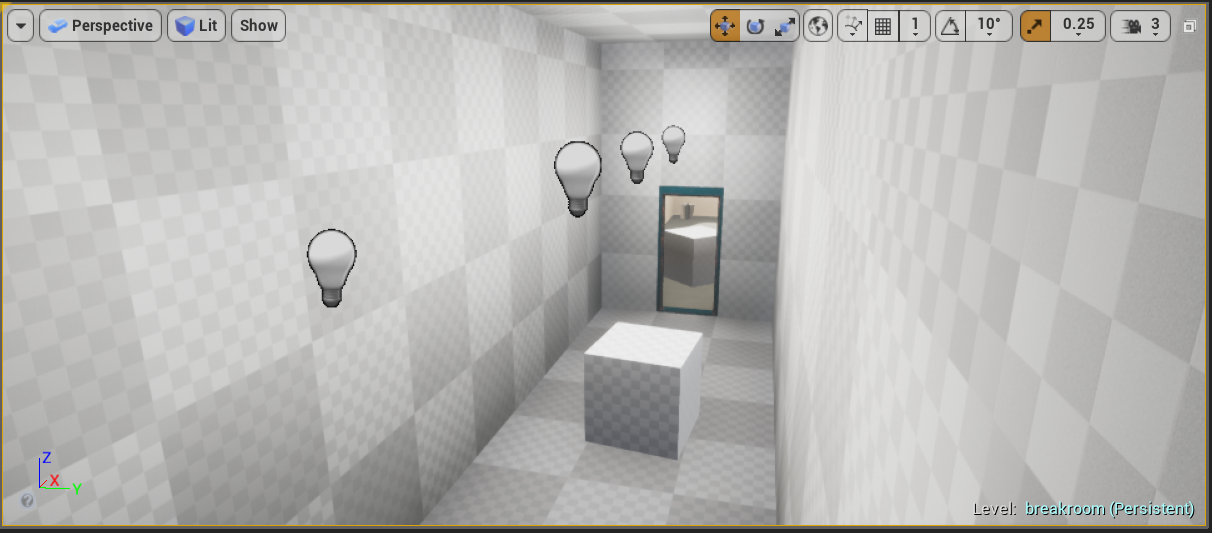
Machines Room:
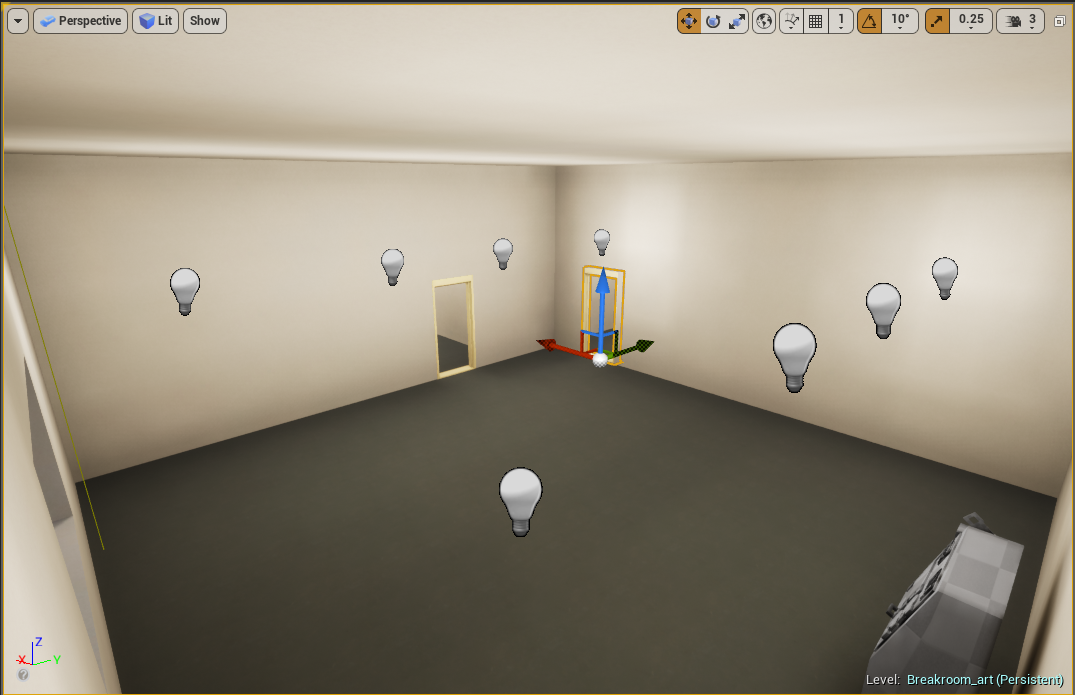
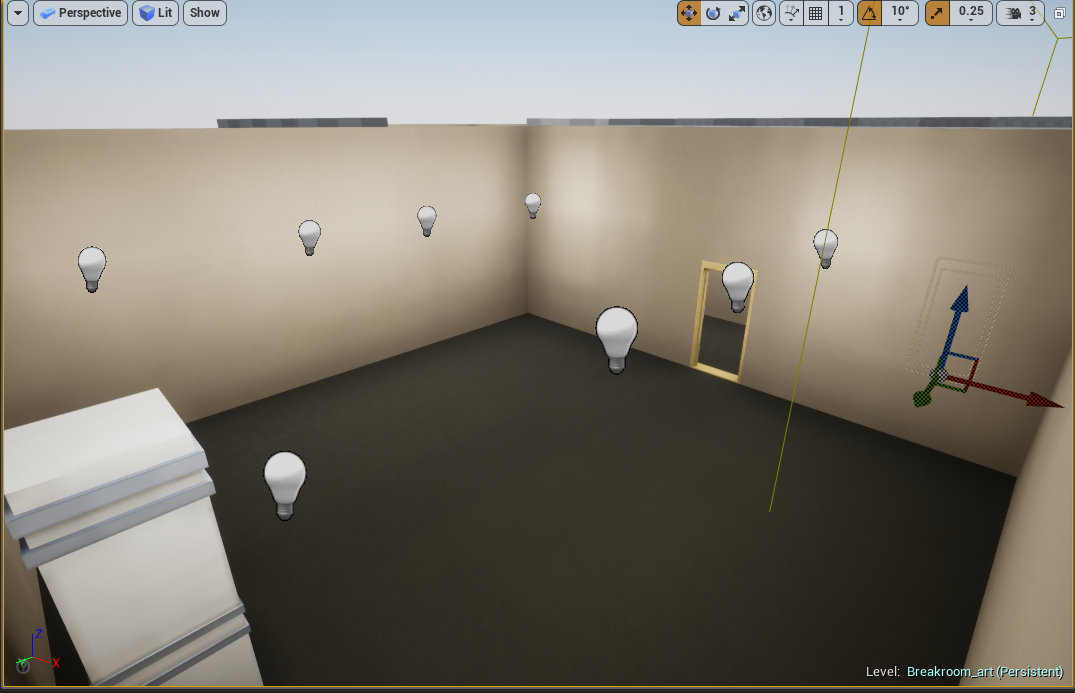
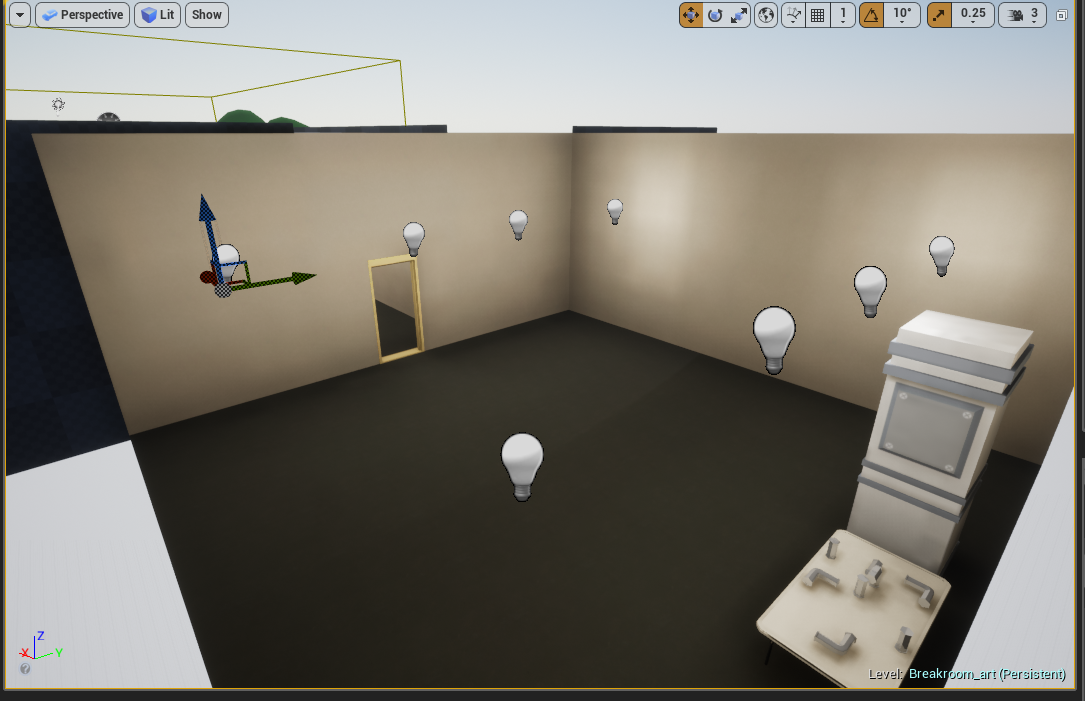
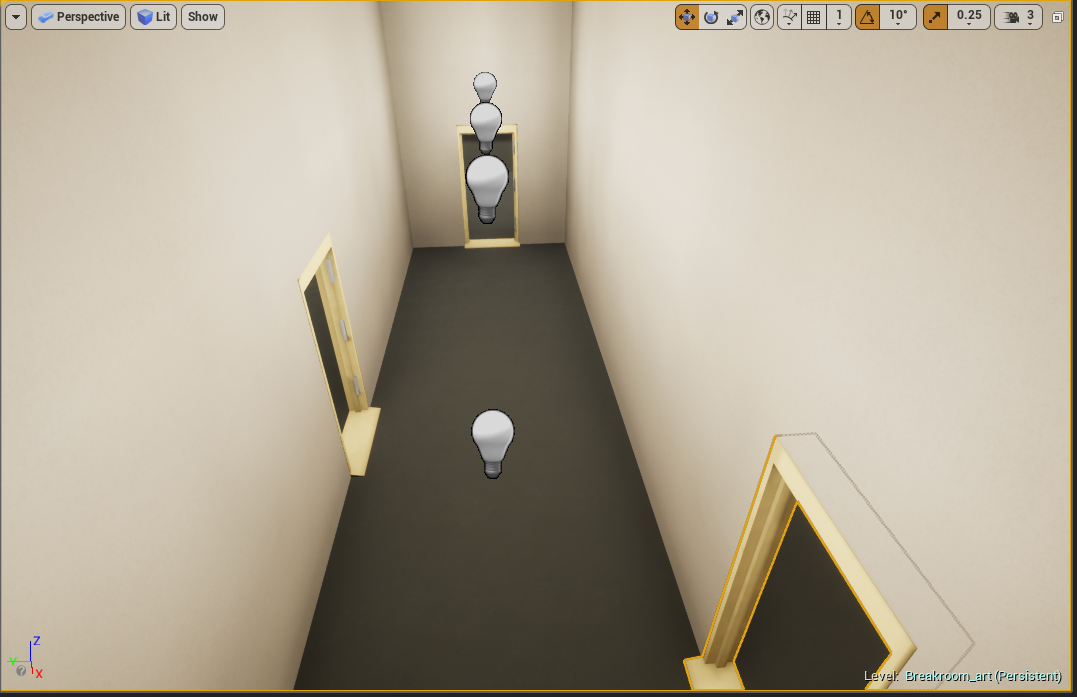
It was quickly apparent that the dimensions of objects and space in VR can feel much different than expected, so I began to adjust the size of the room by what felt good in VR and taking note of the dimensions after. Later, since we had multiple machines/minigames being developed at a pace that would be finished by the project’s end date, the leads and I decided to expand the world space to multiple rooms, so I whiteboxed a new area with a room for each of the three machines.
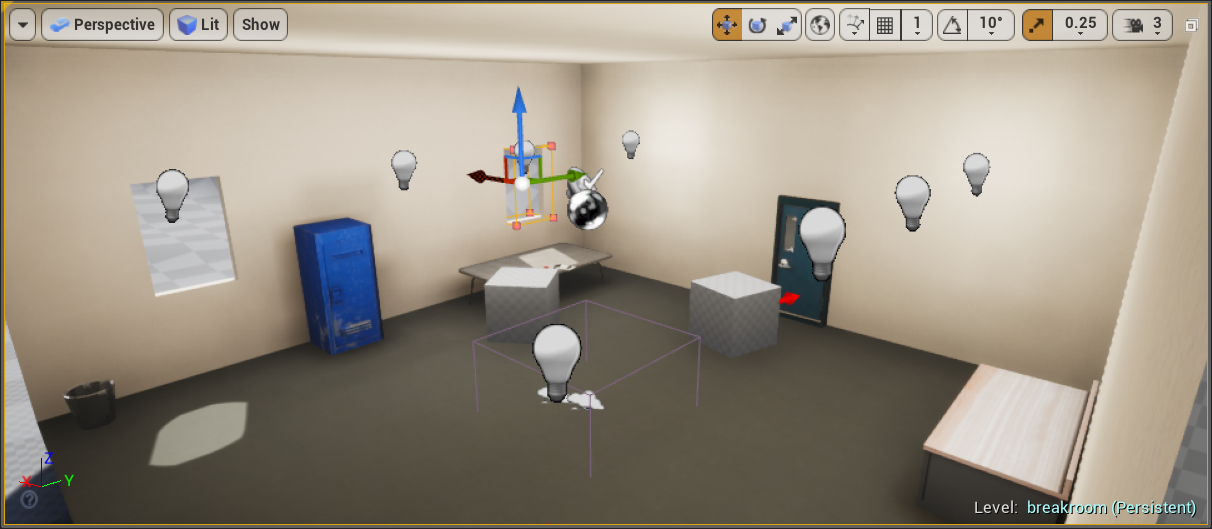
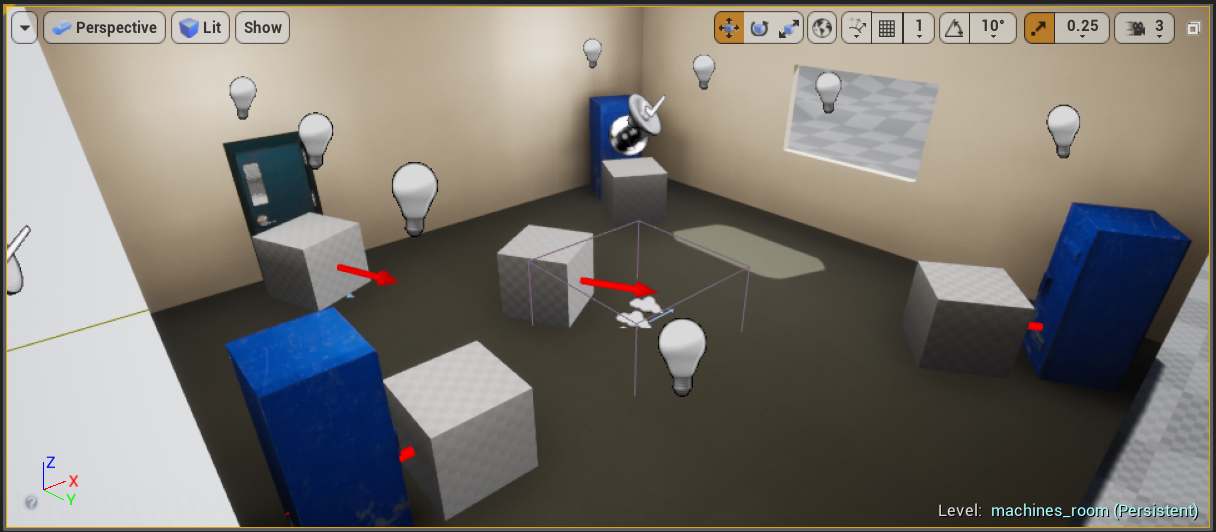
Second Whitebox
Break Room: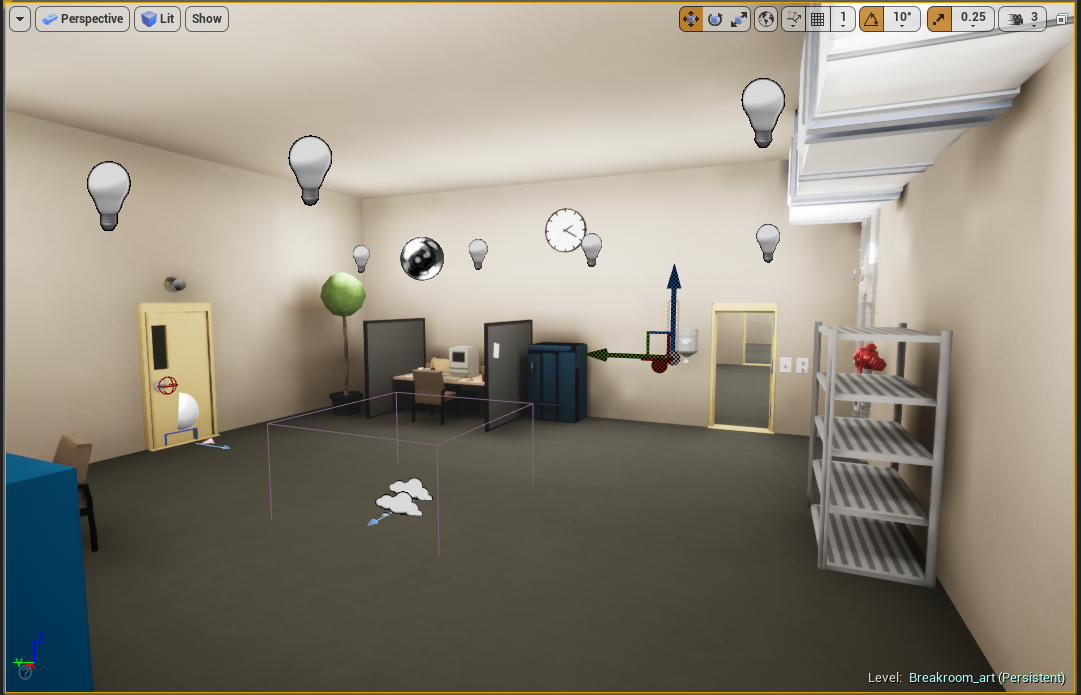
Machine Rooms:
Hallway Between Machine Rooms:
A couple of weeks afterward, we had an opportunity to take a field trip to children’s hospital itself and tour where the engineers worked. After taking tons of reference photos, I worked with Rudro De – one of the art leads – to block out a new map that would remind the engineers of the space they worked in:
Final Whitebox
Boiler Room: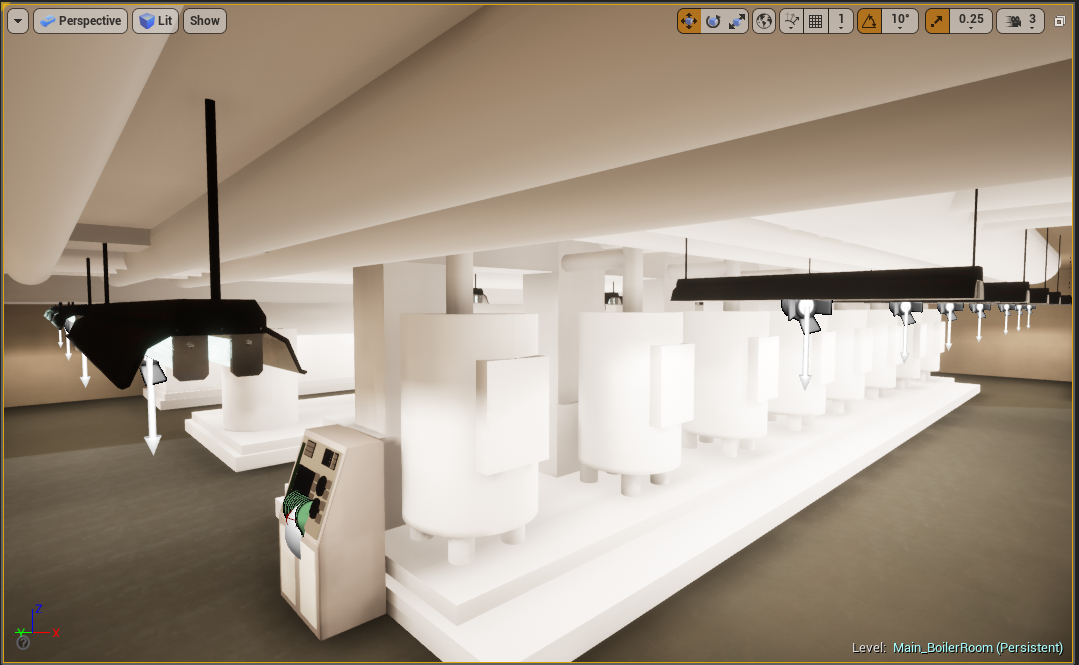
This became our final version of the map, with small adjustments here and there as we put everything together.
Final Map
Coming Soon
Minigames
Toward the beginning of the Fall semester, I assisted in brainstorming ideas for the minigames and communicating their vision to team members, eventually being responsible for leading the development of the first minigame.
Minigame 1
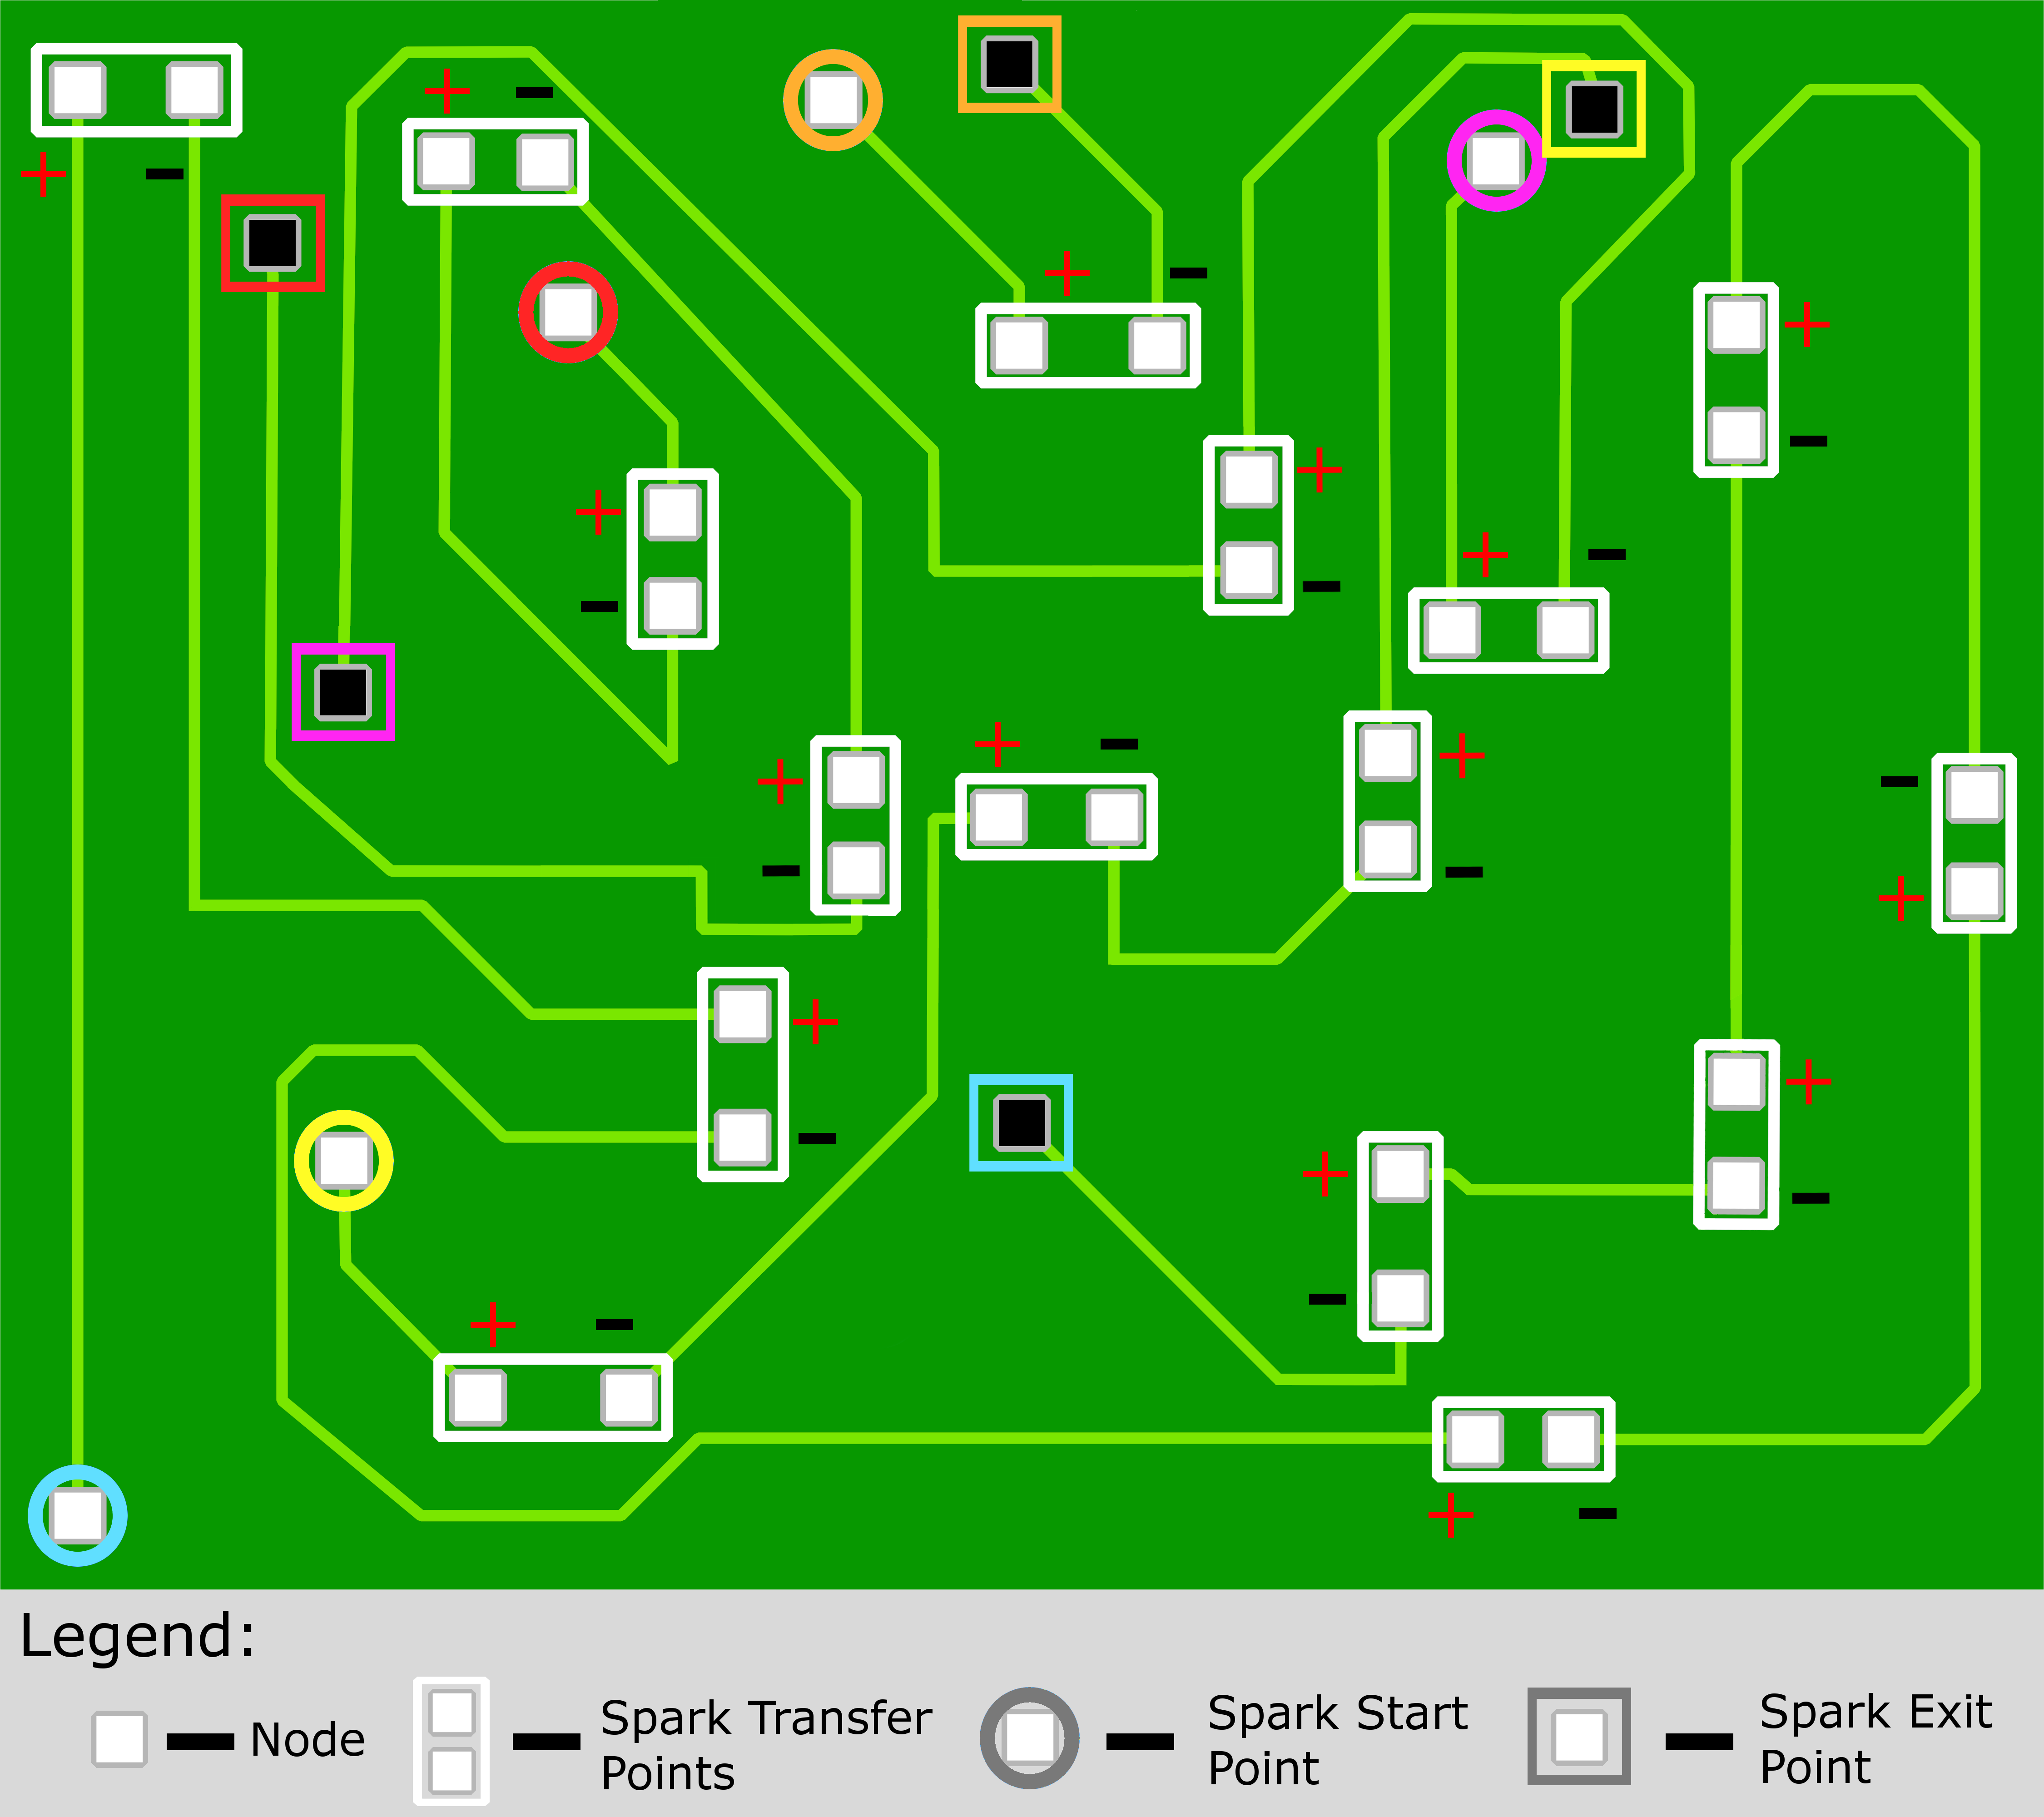
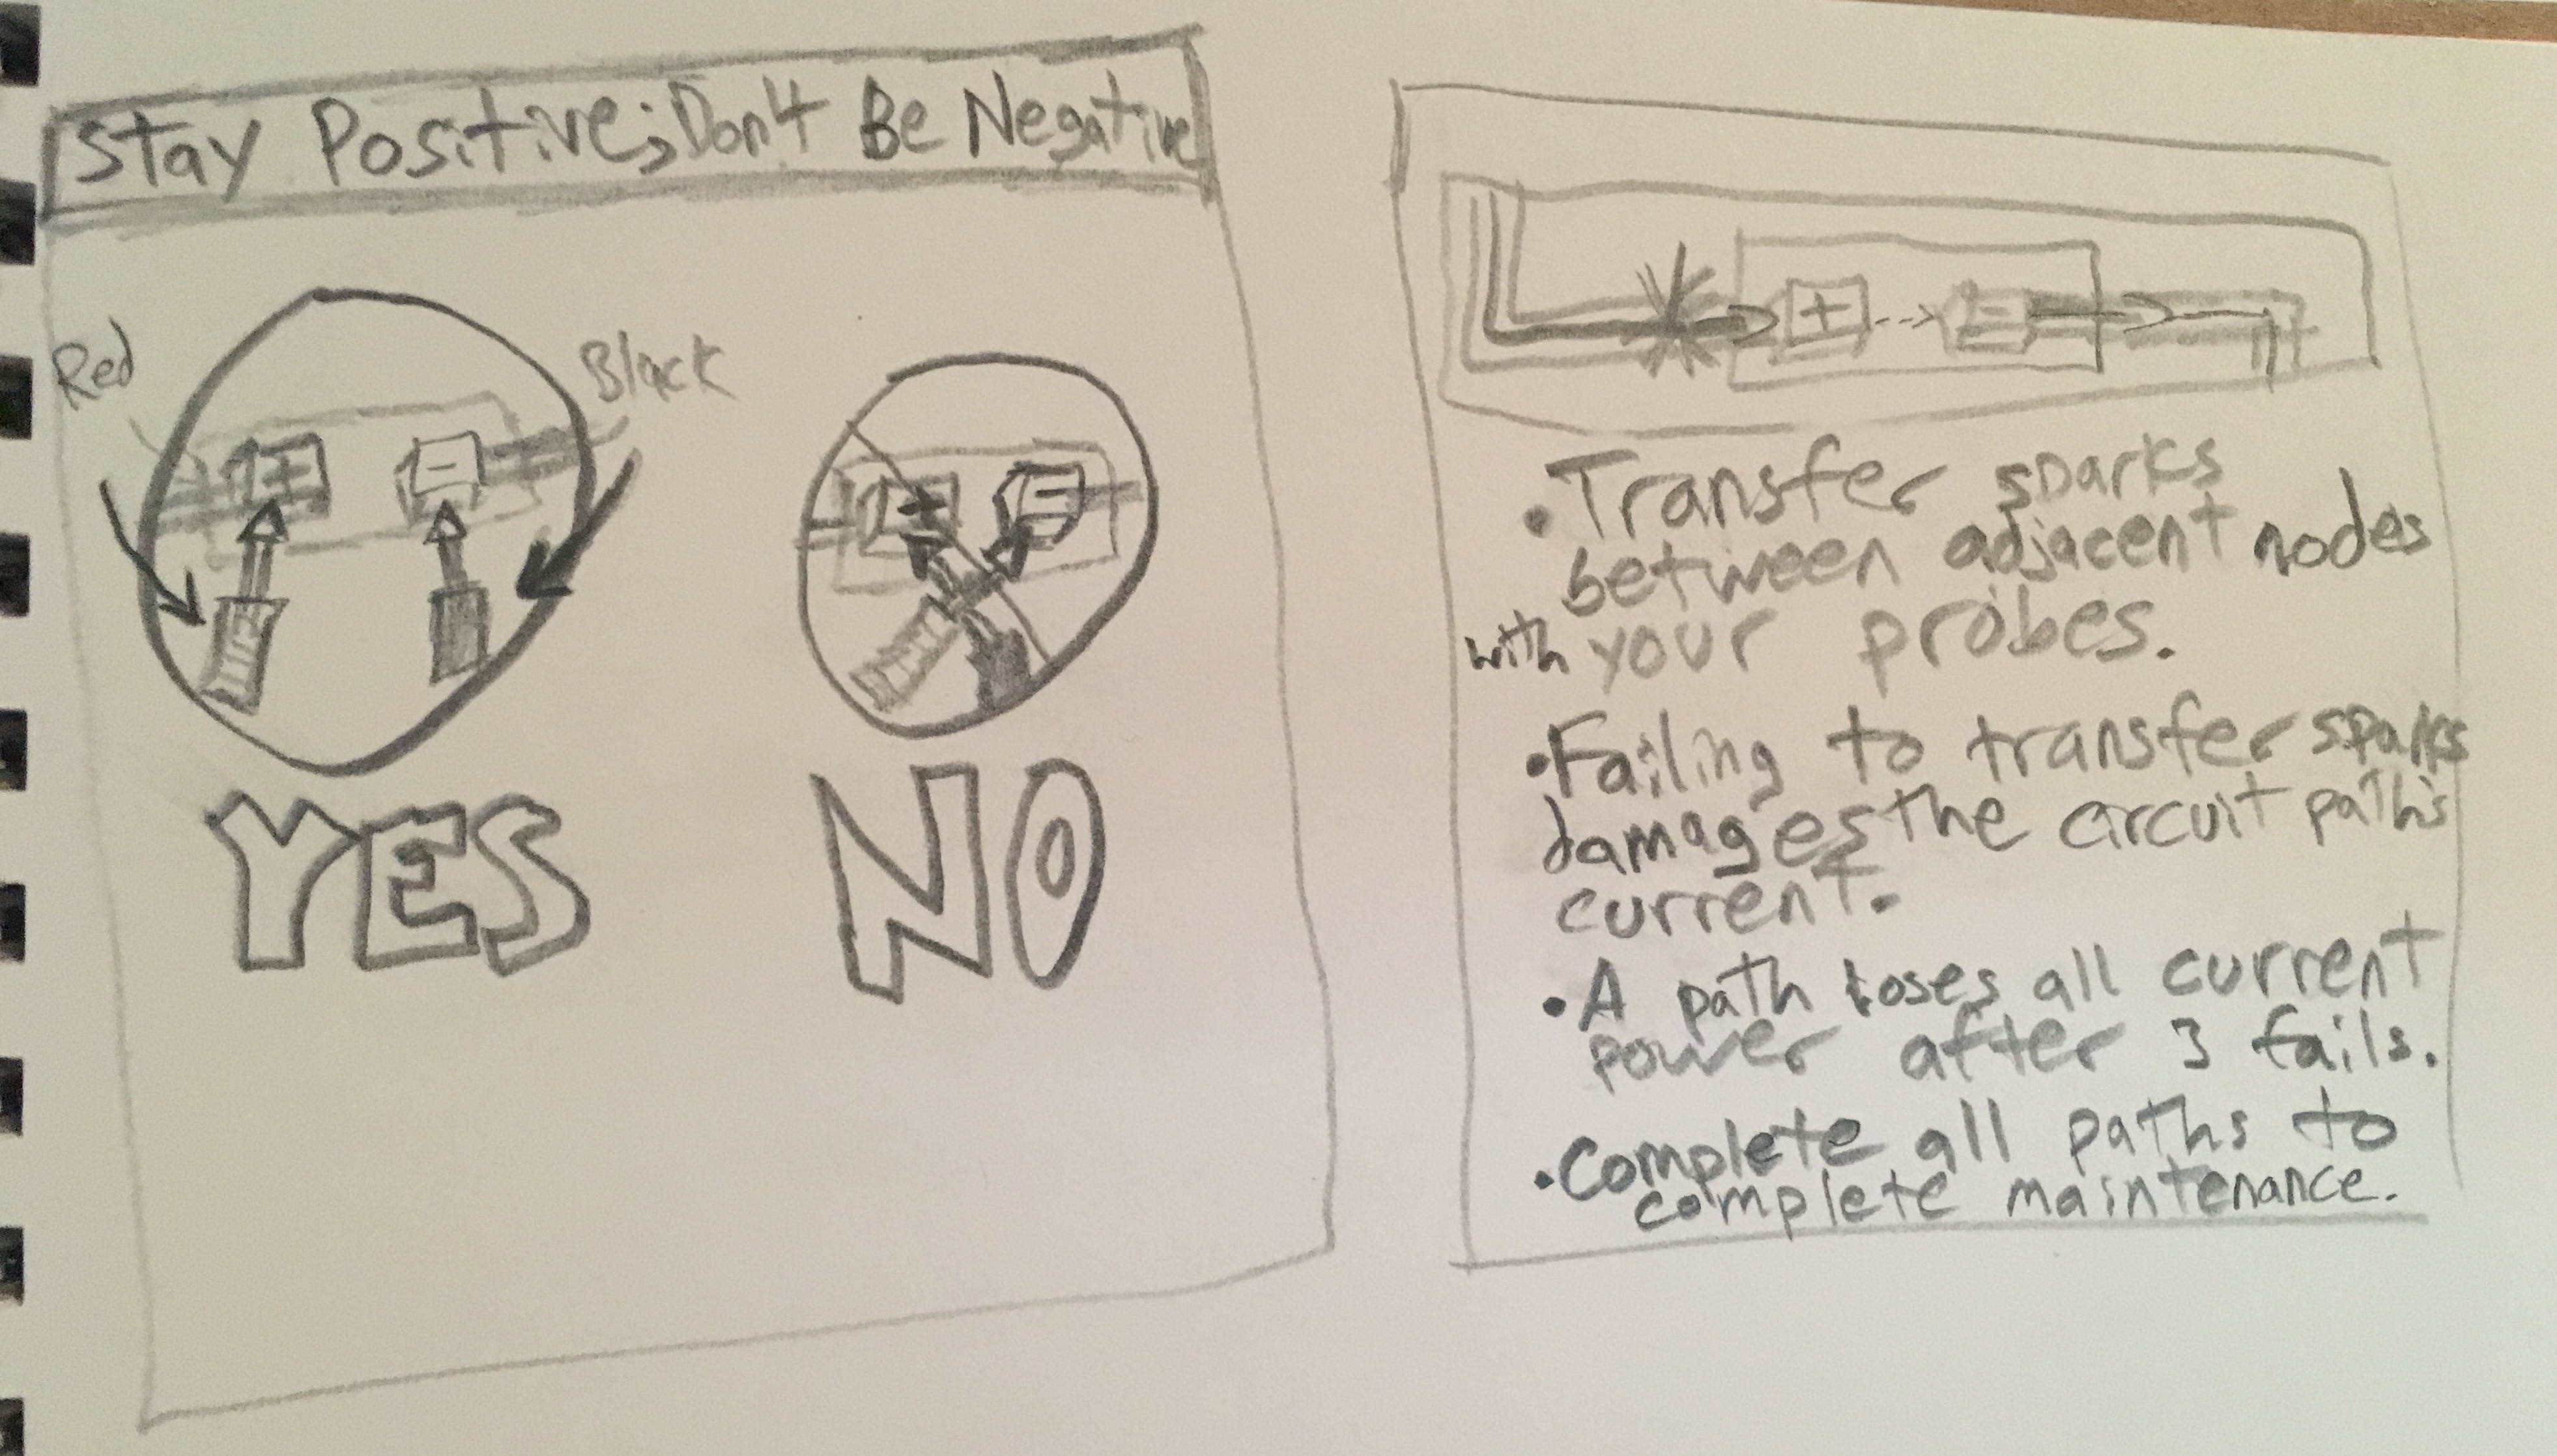
Minigame 1 presents the player with a printed circuit board where a spark moves along and must be transferred between traces by the player touching probes to the appropriate electrical nodes. Initially, I worked with Daniel McKernan and Brian Hoem who programmed the base functionality of the game. Daniel created the initial map to work from.
Initial Level Map

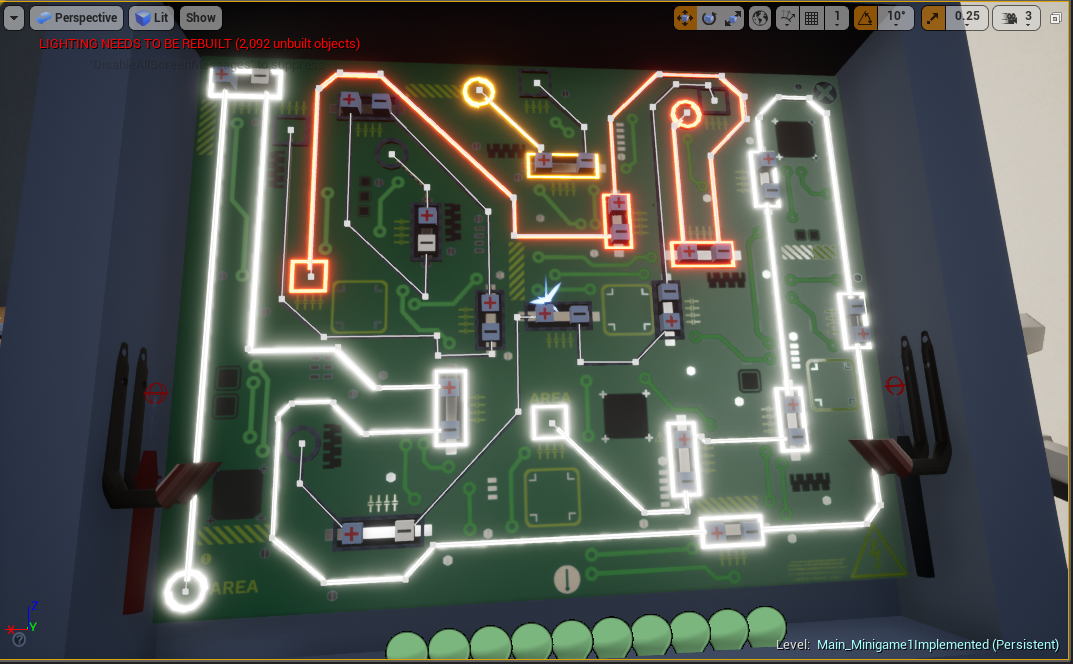
With both Daniel and Brian's input, I iterated on this initial map to create the final level map.
Final Level Map
With the base game functionality done, I began working on a points system. At first, I used lights to represent how many points the player had based on how many complete paths of traces the player had transferred sparks between. The lights would also ‘decay,’ from green to orange to red, every time the player failed to transfer a spark, before turning off completely and subtracting a point on the third failure.
Initial Point System
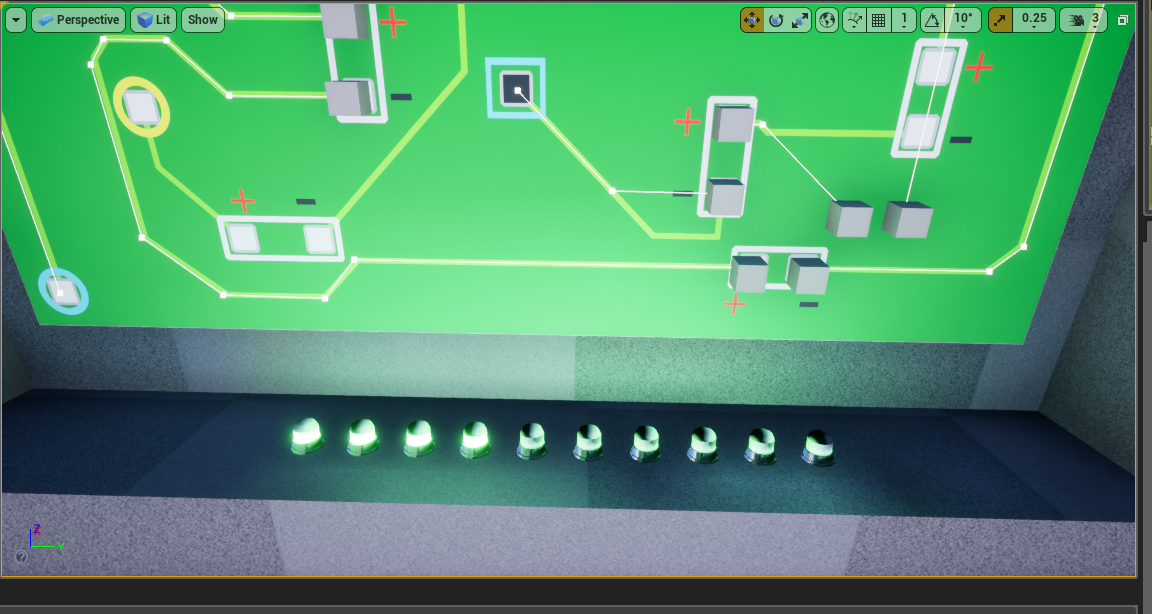
However, through testing I discovered that inside of VR the lights were often out of view and therefore not conveying progress to the player very well. The second art lead, Sierra Jones, also had the idea of making the traces light up as the spark traveled across them. From this idea, I began reworking the points system to light up the trace paths themselves in a similar fashion to how I used the lights attached to the machine.
Revised Point System
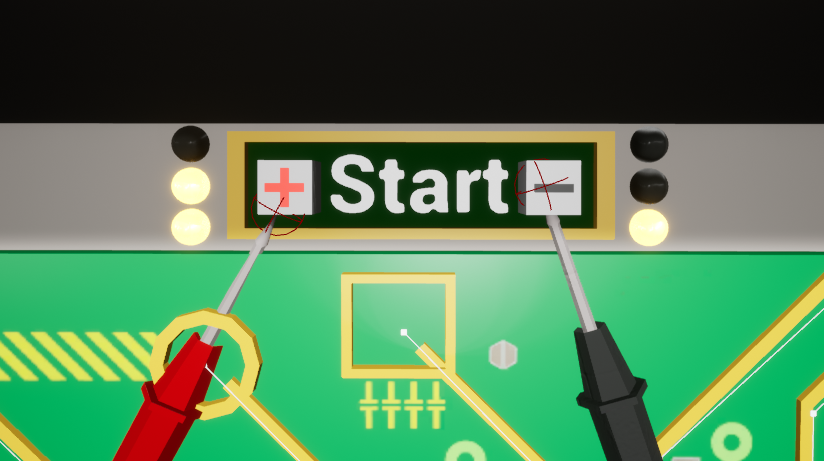
With a points system that checked for a win condition in place, the minigame just needed a way to start. To do this, I created the ‘start nodes’ that power up the machine over a few seconds by the player touching and holding both probes to the nodes.
Start Nodes
Additionally, I made a mockup for the Art team to create instructional posters to help the player.
Poster Mockups
All these parts came together to create the final minigame.
Minigame 1 Walkthrough
Back to top